.avif)
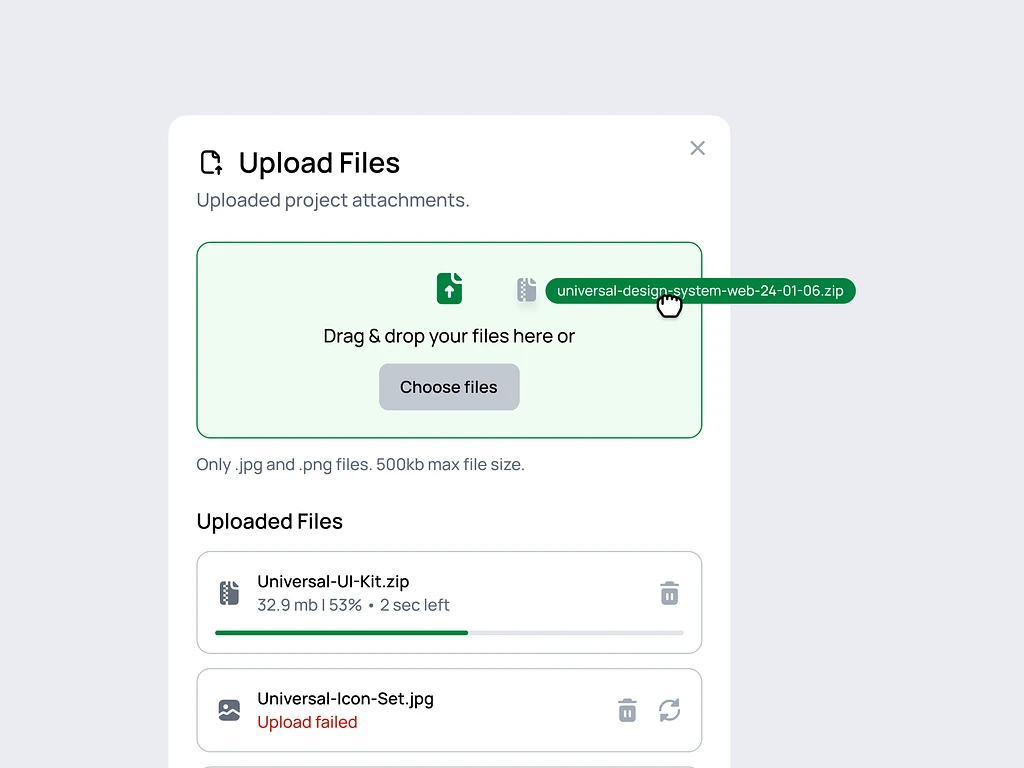

Dynamic File Serving in Next.js: A Custom API Solution for Uploaded Content
How to serve uploaded files in Next.js with a custom API route, so user content stays accessible without exposing your storage layer.
Next.js is a robust React framework that provides an excellent developer experience for building server-side rendered and statically generated web applications. By default, Next.js serves static files from the public directory bundled during build time. However, this approach only works for static r that must be served at runtime.
The Solution
To serve these dynamically uploaded files, we can create a custom API route that reads the files from our chosen directory and serves them on demand. This approach gives us more control over how the files are served and allows us to implement additional features like image resizing and format conversion.
Let's dive into the code that makes this possible:
import path from "path"
import fs from "fs"
import { NextRequest, NextResponse } from "next/server"
import { fileTypeFromBuffer } from "file-type"
import sharp from "sharp"

export async function GET(req: NextRequest, res: NextResponse) {
  const DEFAULT_WIDTH = 1280
  const DEFAULT_HEIGHT = 620
  const DEFAULT_QUALITY = 75
  const resource = req.nextUrl.searchParams.get("resource")
  const width = req.nextUrl.searchParams.get("w")
    ? parseInt(req.nextUrl.searchParams.get("w") || DEFAULT_WIDTH.toString())
    : undefined
  const height = req.nextUrl.searchParams.get("h")
    ? parseInt(req.nextUrl.searchParams.get("h") || DEFAULT_HEIGHT.toString())
    : undefined
  let quality = req.nextUrl.searchParams.get("q")
    ? parseInt(req.nextUrl.searchParams.get("q") || DEFAULT_QUALITY.toString())
    : DEFAULT_QUALITY
  quality = quality > 100 ? 100 : quality

  console.log(__dirname, resource, width, height, quality)

  if (!resource) {
    return new NextResponse(null, {
      status: 400,
    })
  }

  const filePath = path.join(process.cwd(), process.env.RESOURCE_PATH || "resources", resource as string)

  console.log("filePath >>> ", filePath)

  try {
    if (fs.existsSync(filePath)) {
      const fileBuffer = fs.readFileSync(filePath) // Synchronously read the file into a buffer
      const contentType = (await fileTypeFromBuffer(fileBuffer).then((e) => e?.mime)) || "application/gzip" // Extract the content type

      console.log("contentType >>> ", contentType)

      // + if the content type is an image, resize it to the specified dimensions & quality
      if (contentType.startsWith("image")) {
        let image = sharp(fileBuffer)

        if (width) {
          image = image.resize(width || undefined, height || undefined, { fit: "inside" })
        }

        const resizedBuffer = await image.webp({ quality }).toBuffer()

        return new NextResponse(resizedBuffer, {
          headers: {
            "Content-Type": "image/webp",
          },
        })
      }

      // * return the file buffer as is
      return new NextResponse(fileBuffer, {
        headers: {
          "Content-Type": contentType,
        },
      })
    }

    return new NextResponse(null, {
      status: 404,
    })
  } catch (error) {
    console.error("Error retrieving resource: ", error)
    return new NextResponse(null, {
      status: 500,
    })
  }
}
Let's break down this code and understand how it works:
- We import necessary modules, including
pathandfsfor file system operations,NextRequestandNextResponsefrom Next.js,fileTypeFromBufferto determine file types, andsharpfor image processing. - The
GETfunction handles incoming requests to our API route. - We extract query parameters from the request URL, including the resource name and optional width, height, and quality parameters for image resizing.
- We construct the file path using
process.cwd()and an optionalRESOURCE_PATHenvironment variable. - If the file exists, we read it into a buffer and determine its content type.
- For image files, we use the
sharplibrary to resize the image if width and height parameters are provided. We convert the image to WebP format for better performance. - We serve the file buffer with the appropriate content type for non-image files.
- If the file doesn't exist, we return a 404 status code.
- Any errors during this process are caught and result in a 500 status code.
Using the API
To use this API, you would typically make a GET request to the endpoint where this route is set up, including the necessary query parameters. For example:
/api/resource?resource=example.jpg&w=800&h=600&q=80
This would serve the file "example.jpg" from your resources directory, resizing it to 800x600 pixels with 80% quality if it's an image.
Conclusion
By implementing this custom API route, you can serve dynamically uploaded files in your Next.js application from any directory you choose. This approach gives you fine-grained control over how files are served and allows for on-the-fly image processing.
Remember to secure this endpoint appropriately and consider implementing caching mechanisms for better performance in a production environment.
Building something bigger than a code snippet? ARITS does product engineering, architecture first.